|
Orrery and other detail work - June 2019 In April of this year we had finished the last mechanical component of the orrery and by extension the last for this project. This month we continue to put the finishing decorative touches on the orrery and address some prior mechanical issues. From this point forward, there will be many of these "circling back" to prior mechanical and finishing issues with the mechanism as Buchanan continues the process of tying up loose ends.
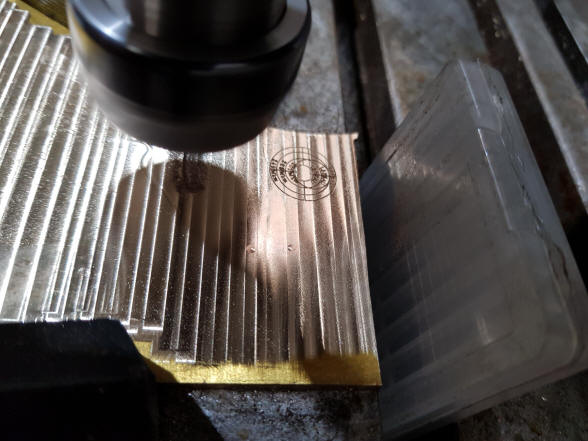
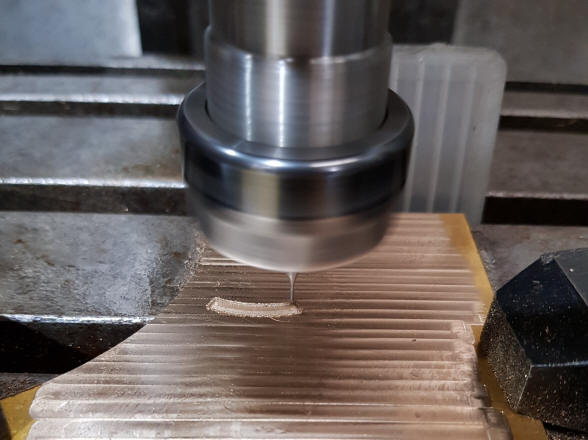
The fine engraving shown on the mill, first photo an orbital dial. next a name plaque.
The first photo shows
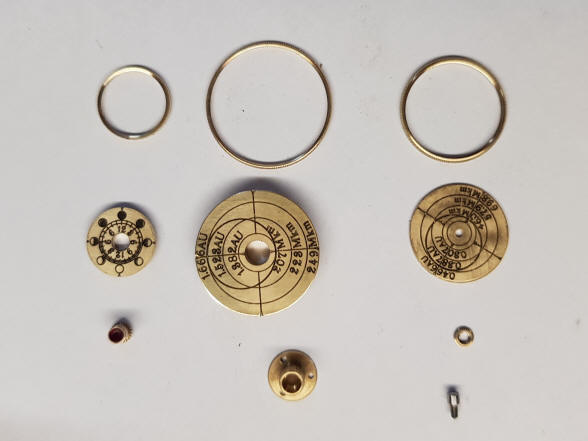
the Mercury and Mars orbital dials and the moon phase dial along with their knurl bezels. The
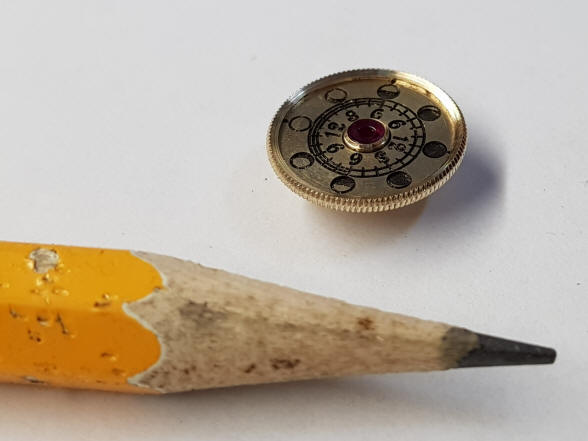
next photo shows a close up of the bezel knurling and the relative size of
the small moon phase dial. These are all now ready for silvering.
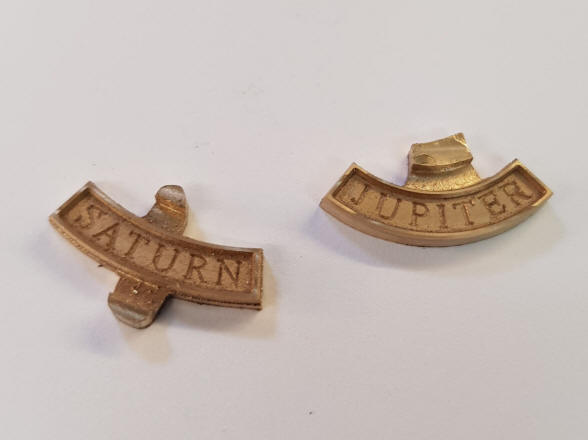
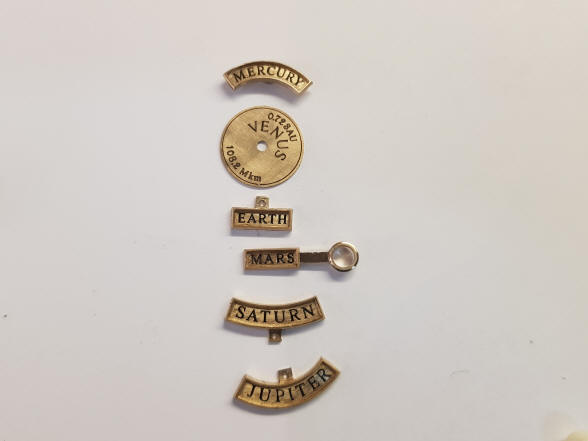
Buchanan writes: Here are the Saturn and Jupiter plates roughed out. I will leave tabs for mounting onto the planet frames. I aim to have them complete today. I took a little time to get back into clock mode this morning, and to remember where I left off and what was to be done next. The second photo shows the rest of the name plaques before silvering. The straight plaques for Earth and Mars were necessary since there were component conflicts in the areas a curved plaque would need to occupy.
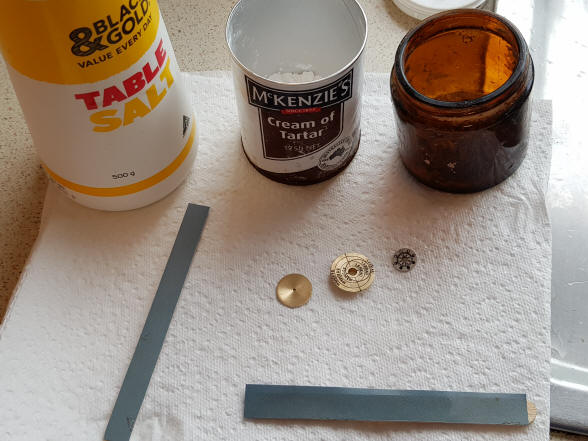
The three chemicals
needed to silver a brass dial. The first is table salt that is used with a
fine sandpaper to prepare the surface to be
free from all corrosion and contaminants. Next Cream of Tartar that will
prepare the surface and finally silver nitrate which will react with the
brass surface to deposit a pure silver coating to the dial. Next photo shows
the completed silver Mars orbital dial.
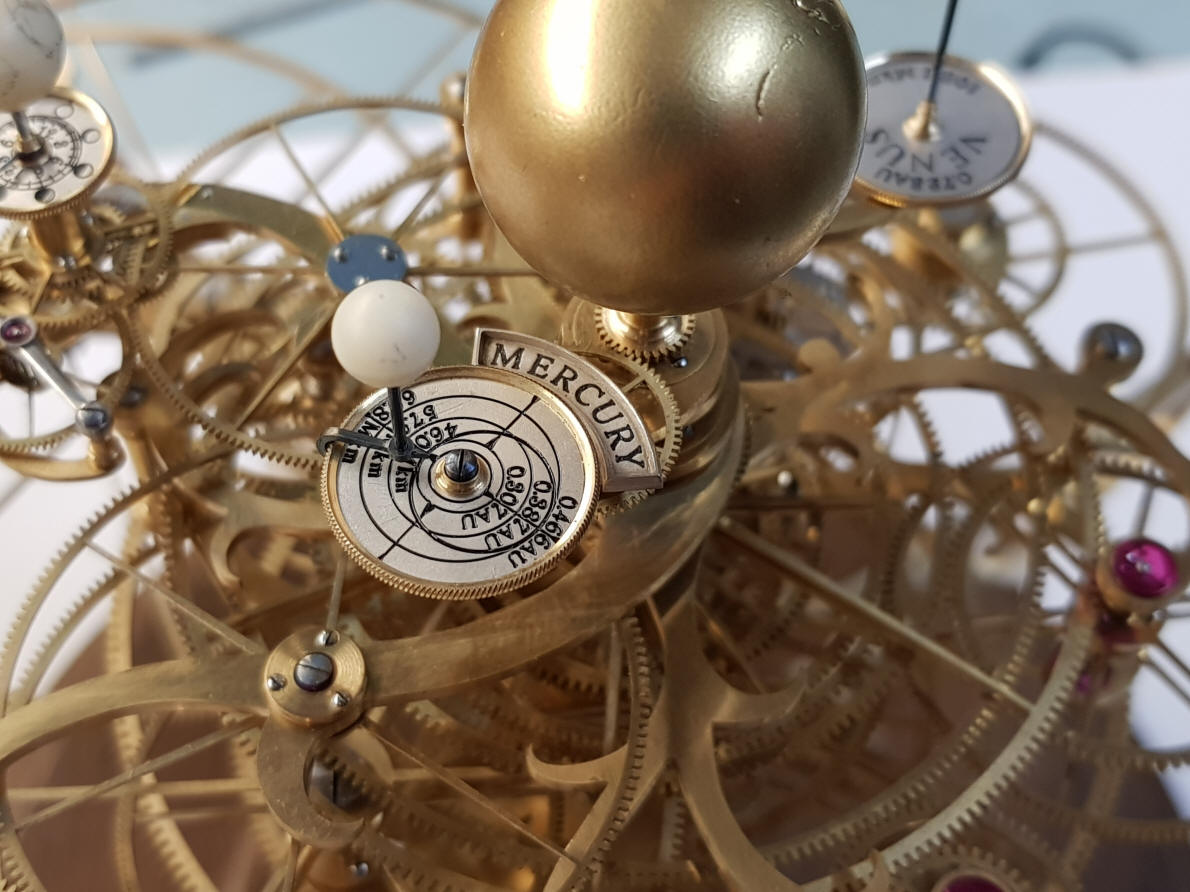
Below are the completed orbital dials and name plaques for each planet.
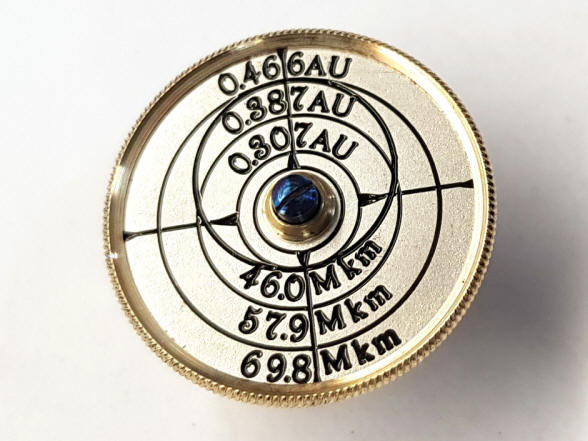
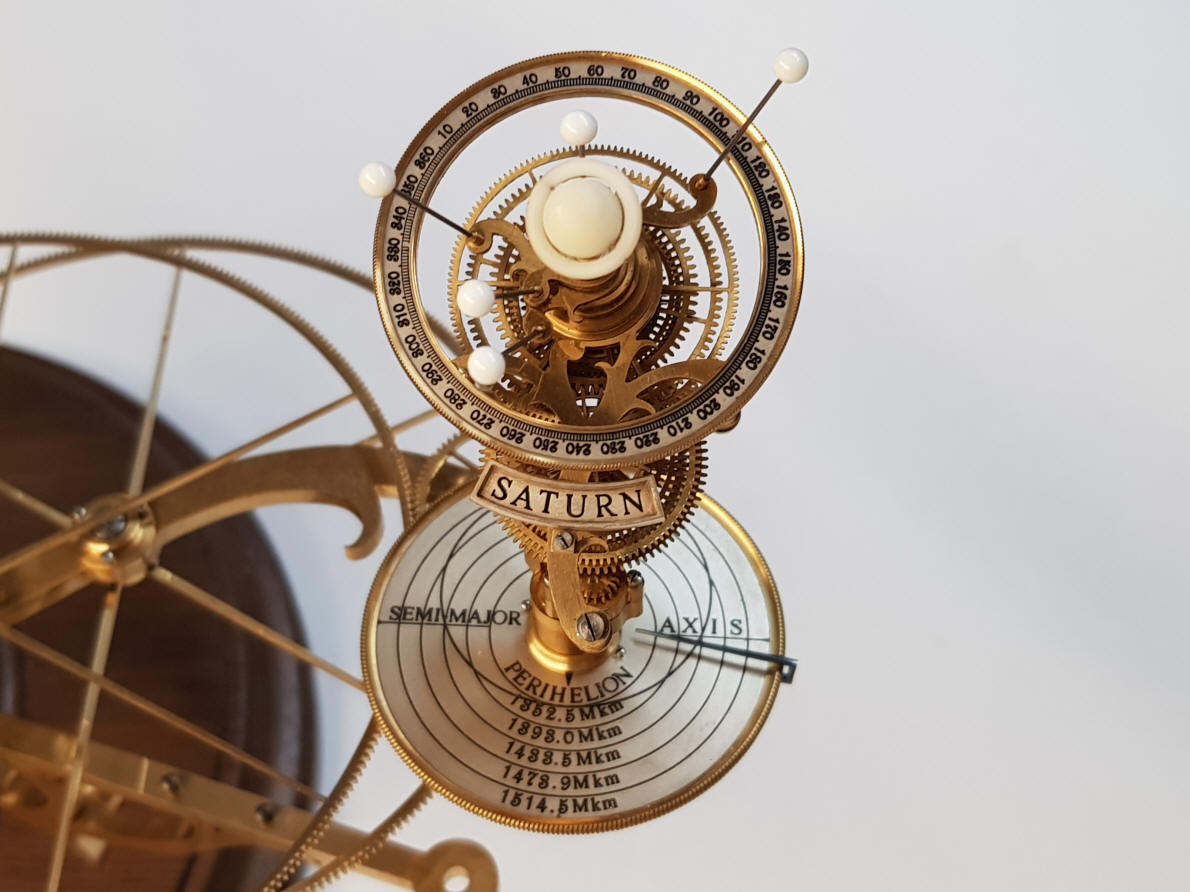
Saturn with its orbital dial showing the planet's elliptical orbit in AU (Astronomical Units which is the distance of the Earth from the Sun and Mkm, millions of kilometers), above a 360 degree dial ring indicating the position of Saturn's moons and its name plaque. All dials have a decorative knurl edge.
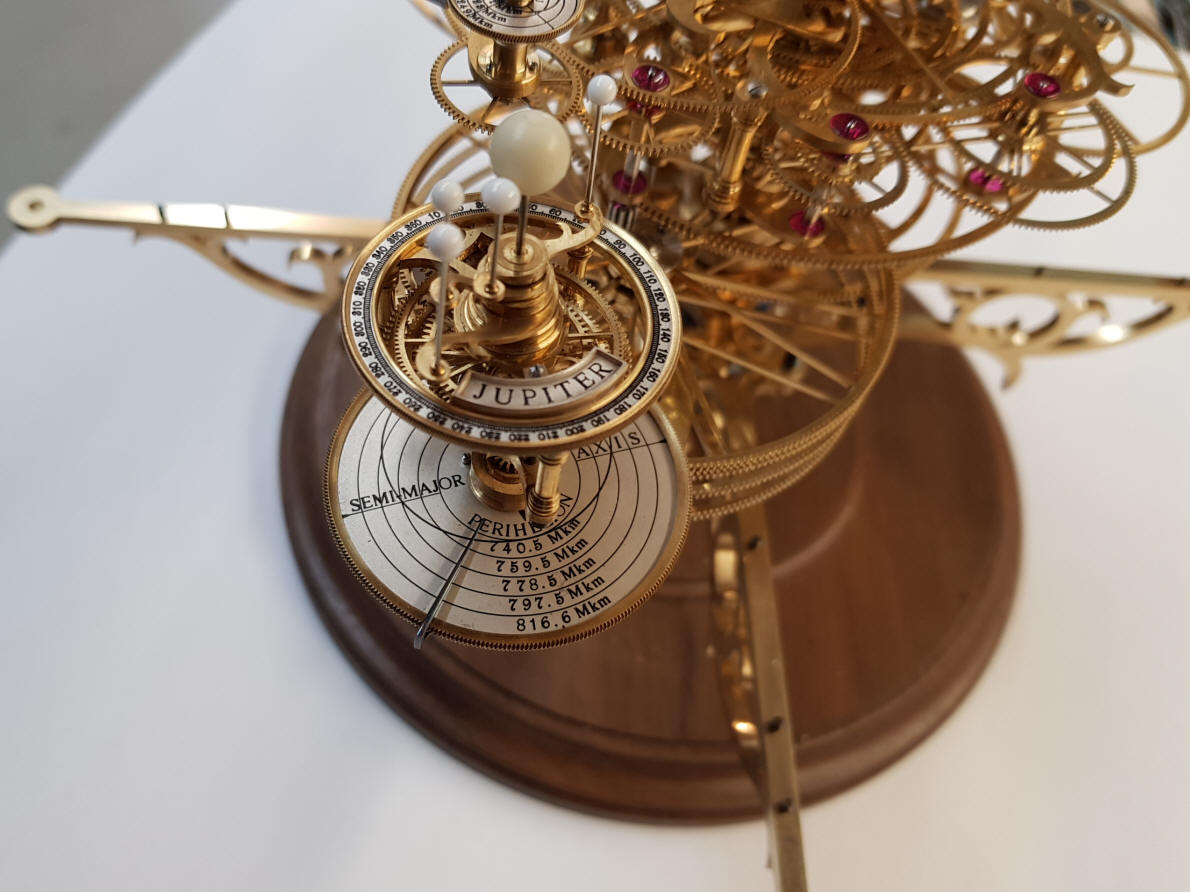
Jupiter with the same dial information as Saturn.
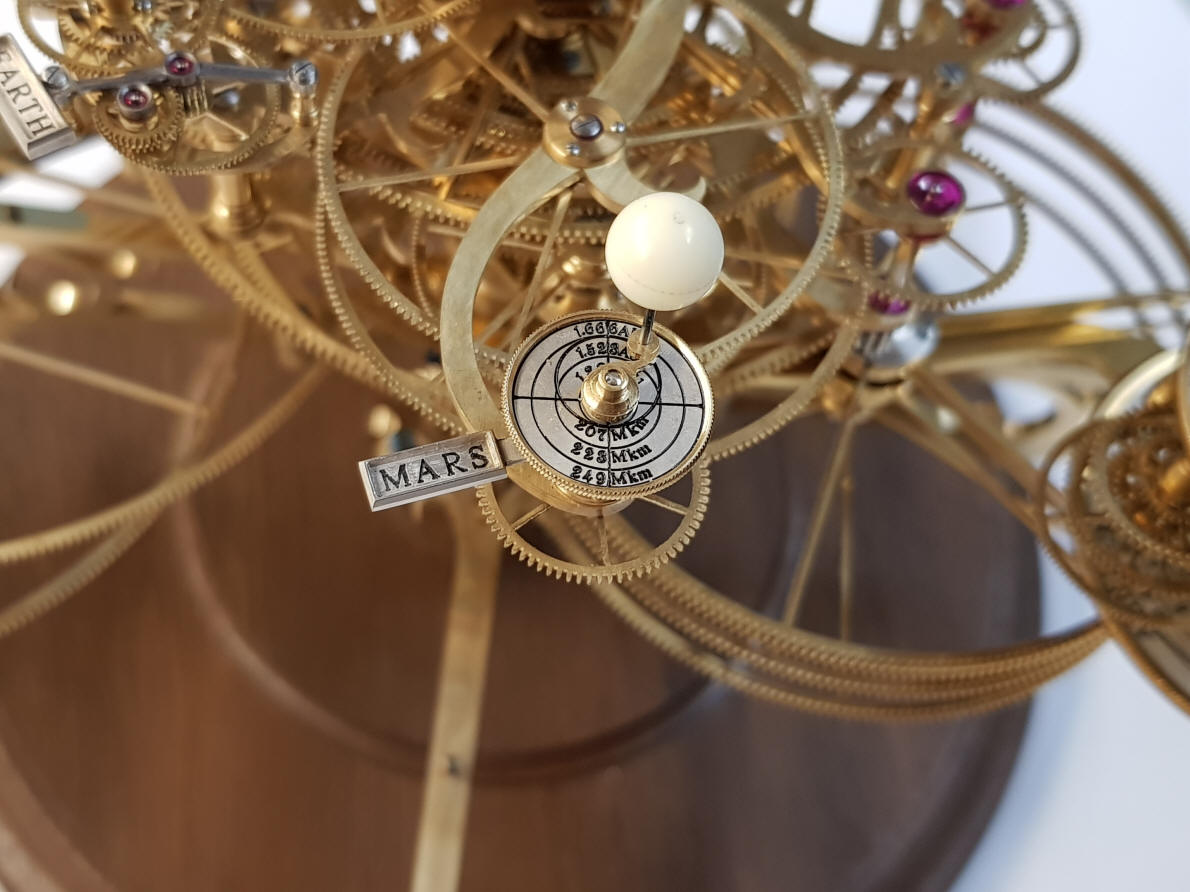
Mars does not have the degree ring as it has no moons. One can see the distance in AU on the top of the dial.
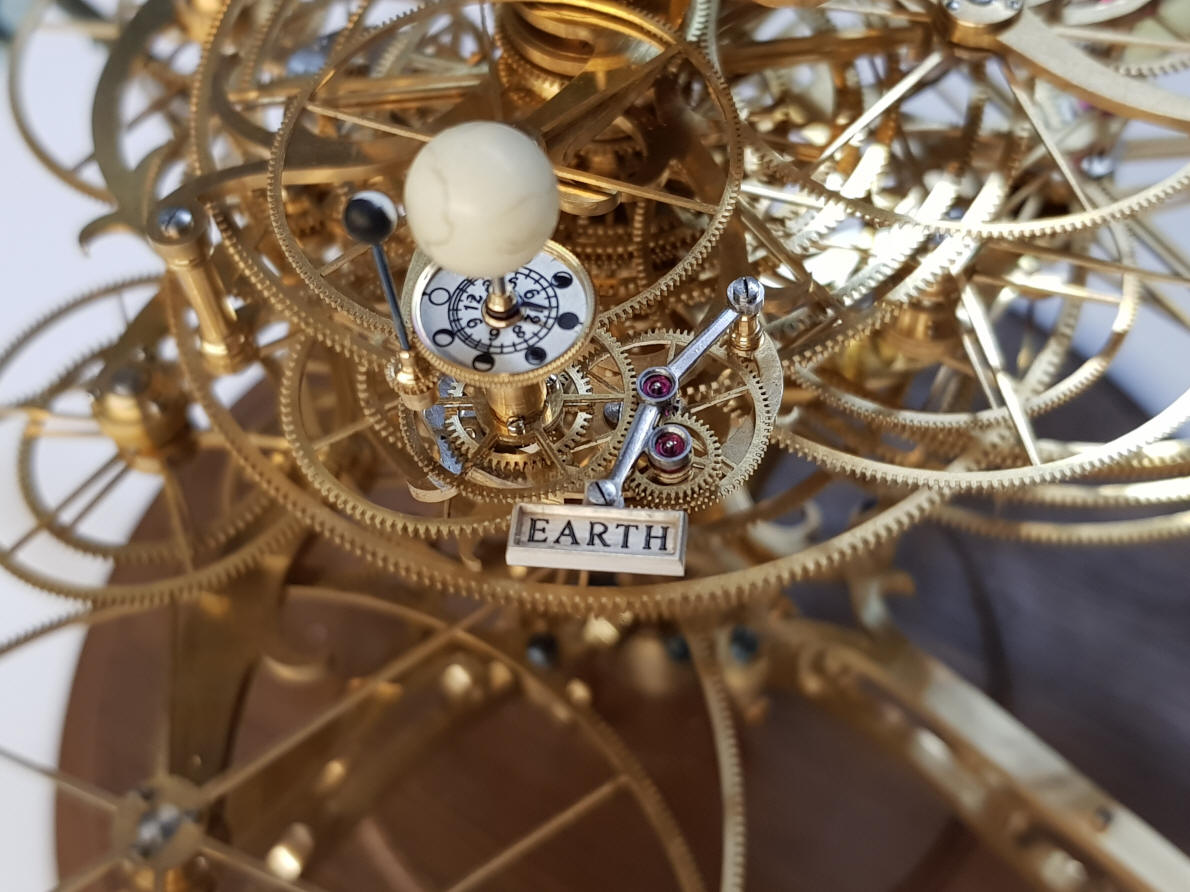
The Earth, Moon system with a dial showing the Moon's phases
Venus has a nearly circular orbit and so the dial just shows its distance from the Sun in AU and Mkm.
Mercury.
This photo shows how
the planets look positioned randomly around the Sun.
In this photo the
plants are all aligned and it becomes apparent how close the tolerances are
between the planets’ dial work. Below Buchanan addresses a long-standing issue with the time train's dual Wagner remontoire cages. Until this rectification, these had an uncertain and jerky action when they cycled. 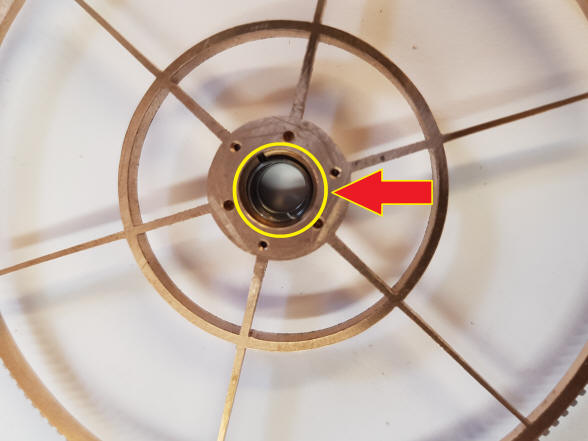
Buchanan writes: I am very pleased to say that the escapement remontoire glitch is completely
cured.
I have fitted to the escape arbour bevel wheel a “maintaining power.” It is
in the hub of the bevel wheel and completely invisible but absolutely
effective (first photo). It is
Identical in operation to the maintaining power on an English long case
clock except it has no ratchet pawl to prevent it running backward. It is
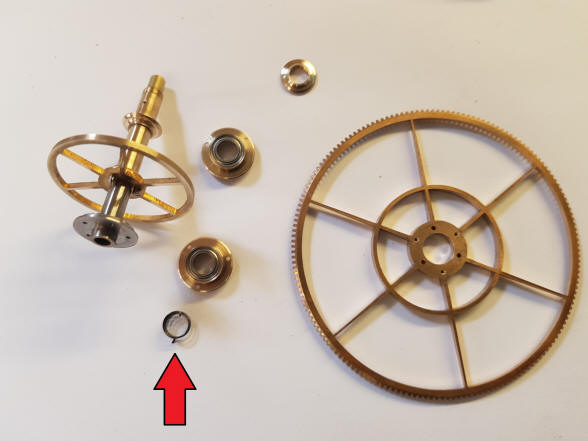
not a remontoire as it is never latched or rewound. (See
spring above red arrow, second photo).
You can still see the very slight glitch on the second hand, as it is
rigidly attached to the remontoire, if you know what to look for, but, the
escape wheel is completely steady. I think it will give is better
timekeeping as well as the impulse is not disturbed.
It is a short coil spring between a free hub on the bevel wheel and the
escape wheel arbour. I will start on the next escape wheel today.
The first photo shows the escapement arbor through the spring. One end attaches to the arbor with the other to the hub of the bevel drive wheel. The next photo shows the completed assembly and beautifully curvilinear escape wheel.
The video shows a coil spring inserted between the drive arbor and the escapement wheel that was made to alleviate the jerkiness and hesitation that occurs when the remontoire cages would cycle. The remontoire cages are quite large and their mass would cause them to go out of step with the escapement. The spring acts as a buffer to allow the cages to "catch up" with the escapement.
I write: I got the videos (of the Wagner remontoire wheel cages that I had
requested on the 18th). Again I am blown away by the video of the
remontoire. This is exactly the way I had thought they should work way back
in my fevered dreams in 2003. You’ve solved the herky-jerky issues with
cages. They are so large and delicate that they must look like they flow,
and now they do! The list below represents a few of the items that will need to be addressed. Others will surely present themselves.
1
Rosettes in main ratchet wheels. (I need to confirm which design we
want)
2
Proper ends on balance springs. (to prevent them unhooking)
3
Drop table height
4
Length of weight chords.
5
Lighten Robyn weight, (unnecessary heavy.)
6
Strengthen Robyn overrun spring (not reliable)
7
Find click sound on Robyn fly (super glue in teeth. possibly)
8
Strike silent clearance around Moon dial. (result of fitting moon dial)
9
Calendar reliability. (quite a few parts need final pinning or fixing)
10
Pin Fasoldt fly arms.
11
Better indicator for 24-hour dial (possible glass dial)
12
Glass Moon dial
13
Balance mammoth ivory earth.
14
Escape wheel hubs (anti-rattle)
15
Select lever mechanism for Demo
16
Finish pillars on Fasoldt fly frames.
17
Blue/ silver strike mechanism. (Decision)
18
End stone under orrery earth. (Reduce friction)
19
Balance weights on Fasoldt birds, (they don’t always release the strike.)
20
Straighten Robyn sprocket. (Slight wobble)
21
Pin bearings on diagonal arbours on escapements.
22
Shorten chime pull rods by 10mm (General appearance)
23
Fix strike return springs. (Wire cut new? They slip at the moment, clamp
screws only)
24
Screw head clearance for Saturn in top fly’s lower frames.
25
Main screw on front of main Bell pillar won’t screw in.
26
Weight chains for escapement remontoire weights. (Present watch chains are
too thin)
27
Decoration on front plate.
28
Collets on diagonal arbour pinions.
29
Taper pins on hour transfer drive train behind back plate.
30
Hole in hour arbour jewel on back plate for hour output arbour.
31
Round screw heads on barrel plates.
32
Tighten clamps on balance diagonals.
33
Shorten a bit more, one of each main winding pawl. (To provide a more
uneven click, click …. Click, click …click, click sound)
34
Pin star on overrun mechanism on calendar.
35
Pin S arm on Calendar.
36
Anti-wobble support for strike train
37
Shorten and dome pins in Robyn sprocket.
38
Lengthen squares on winding arbours. (All) The first item highlighted in the list above is now addressed:
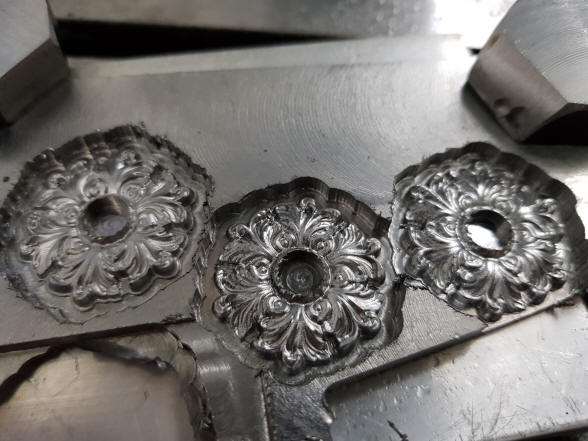
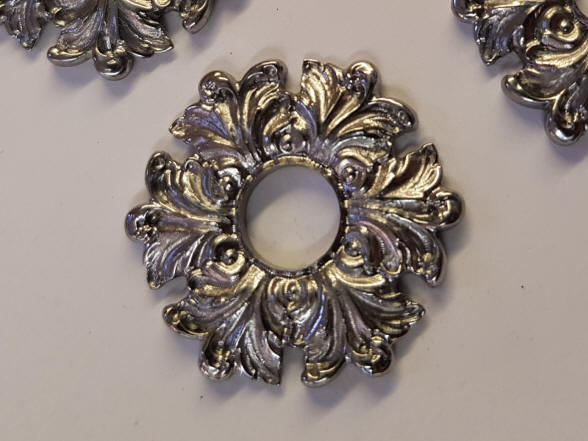
In the first photo three completed rosettes are ready for removal from the steel blank, the fourth has been cut out, lower left hand corner. A lot of hand filing is needed around the perimeter of each rosette once removed from the steel blank. Once the CNC mill is programmed the process is automatic, however it is not speedy. It takes the better part of a day for the mill to make these four decorative parts.
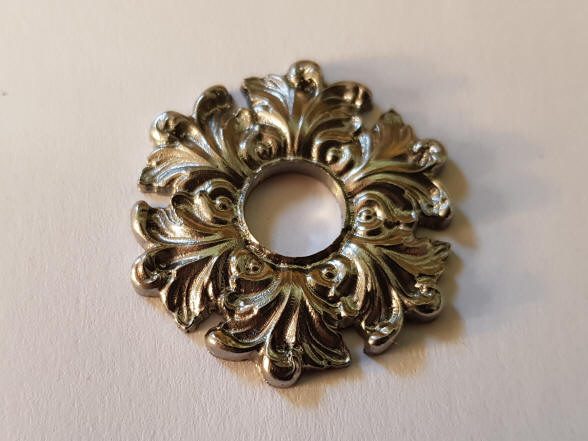
The first photo shows a rosette surface as it comes off the mill. Here is where a
CNC mill really shines. The time it takes to program the mill is often more
than it is worth for a one-off part, but here we are making four. Notice the
small machining marks throughout the surface of the piece. In the second
photo the machining marks are removed by hand chasing, another step that
sets Buchanan apart from other makers.
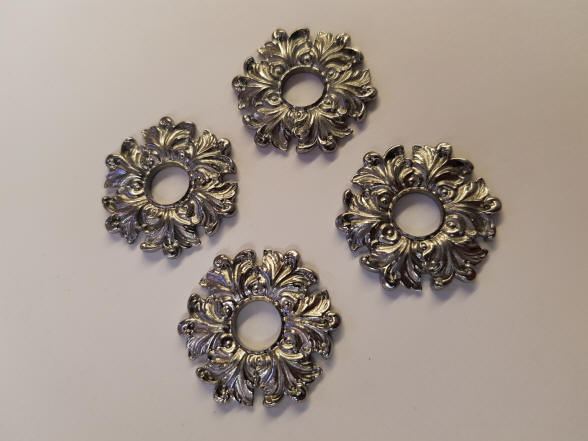
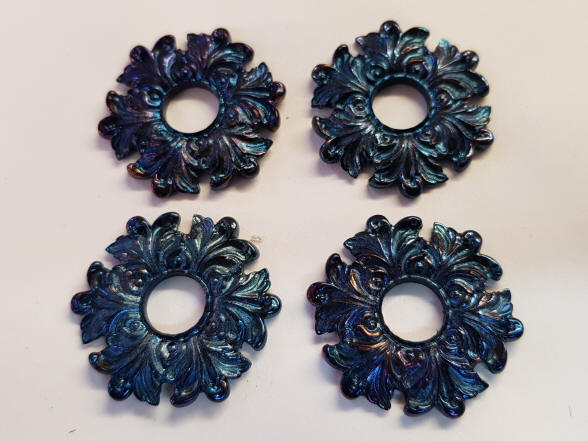
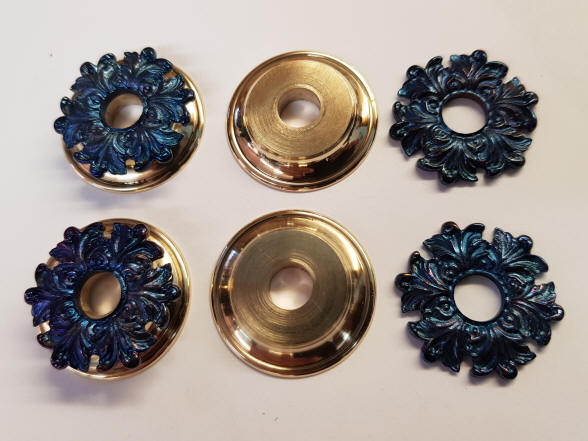
The first photo shows the rosettes after blueing. The next photo shows the
brass escutcheons that the rosettes are mounted to.
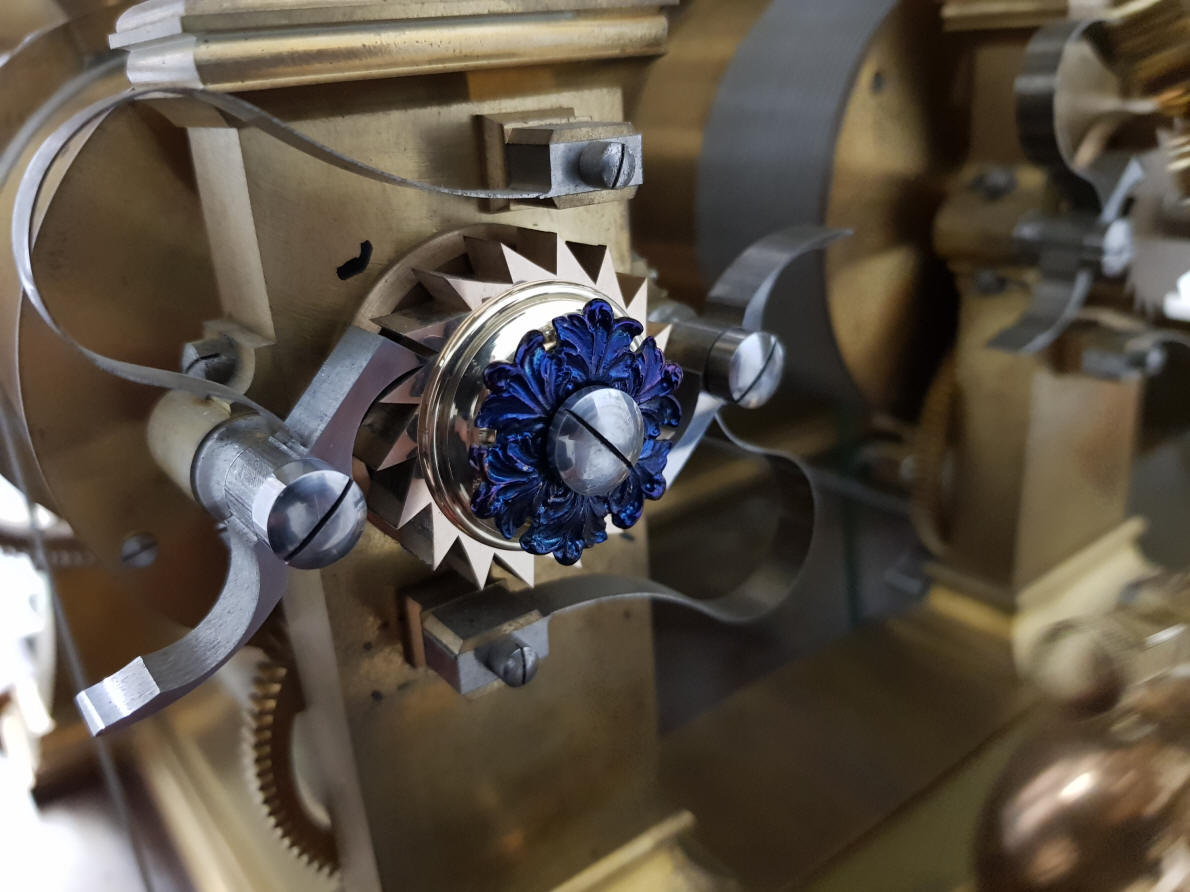
The rosette is now mounted to the rear main winding barrel arbor. The screw
is one of a handful on this project that will, be left silver to provide a
color contrast in this design.
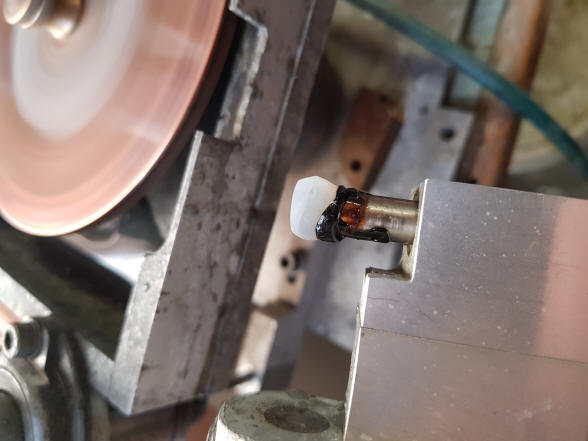
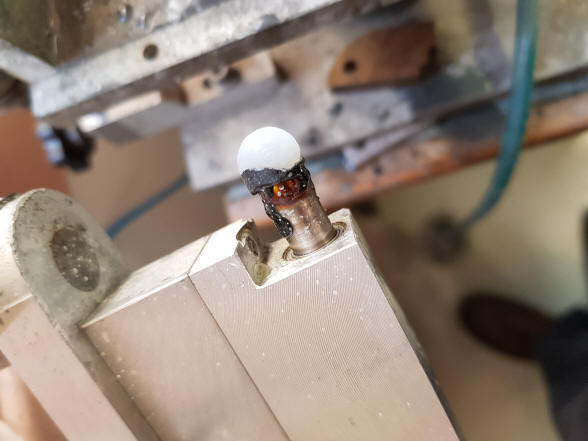
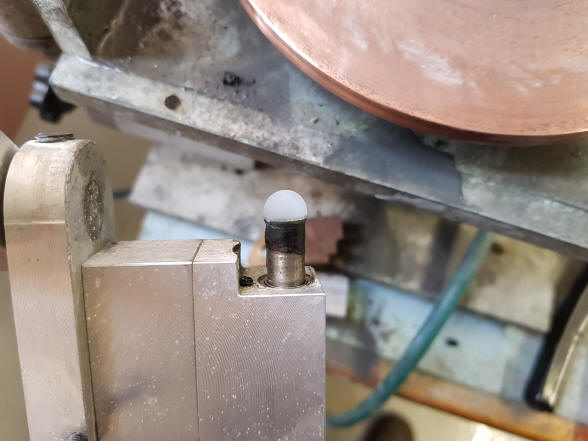
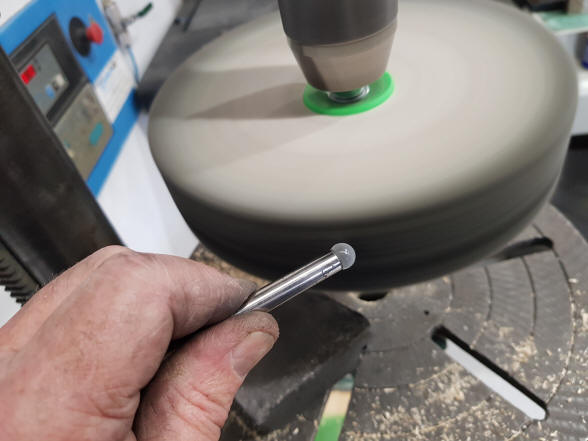
Buchanan writes:
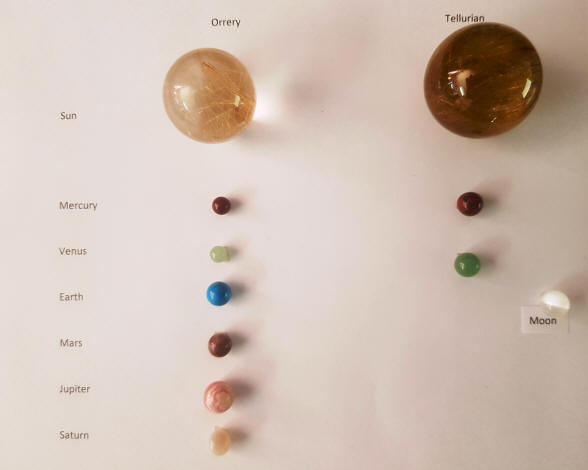
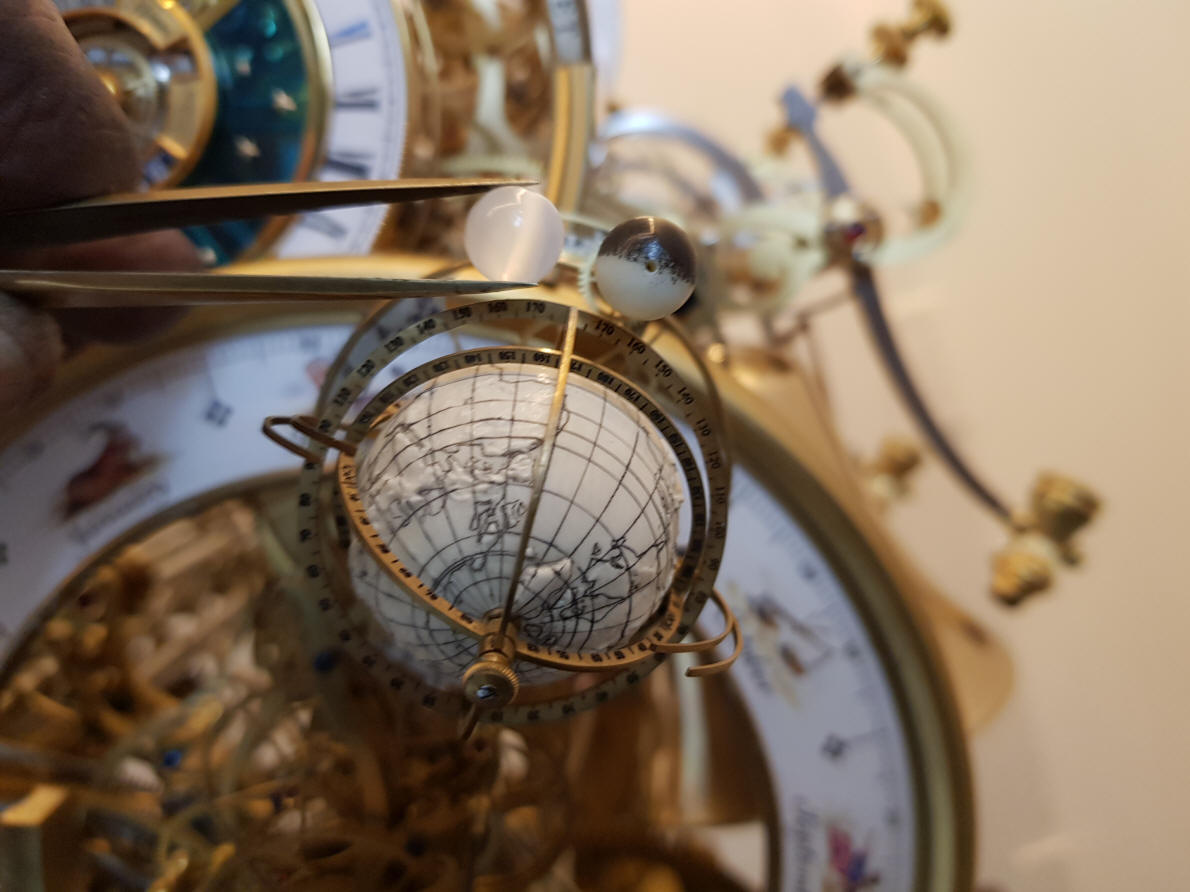
This morning I ground a sphere out of a moon stone for the Tellurian Moon.
The photos make it look simple and it is, but it takes time. First 300 grit
then 600 then 1200 then 3000 polishing disc then two different buffing
wheels. Every time the Shellac that holds it to the arbour needs to be
melted and the stone rotated 180 degrees as I can only work on one half side
at a time.
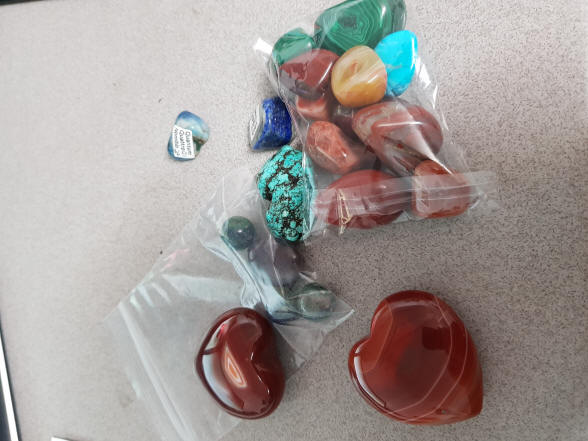
I am working through the stones that I have to see if I have all I need. I
suspect I will take a trip to a Sidney stone shop to get a few more pieces.
I don’t have much agate.
Buchanan writes:
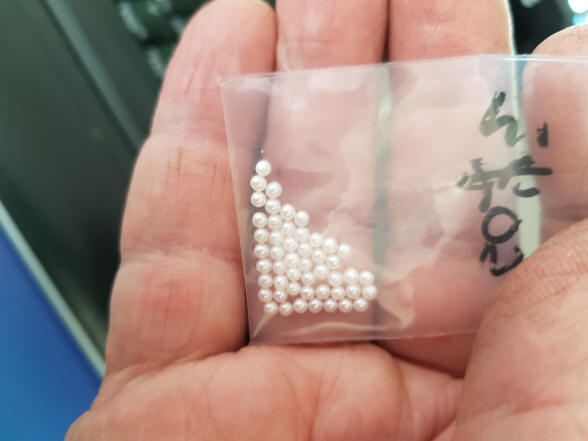
I spent the day today in Sydney running around rock shops. I think I had a
little luck with some earrings! Also a few small spheres. I think we have
some Mercury’s and Venus options. No luck with more opal for the earth.
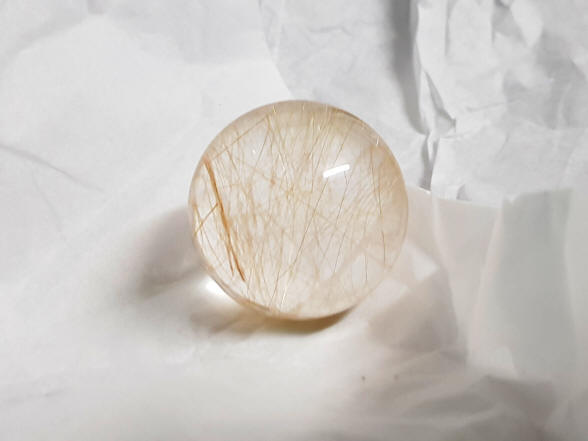
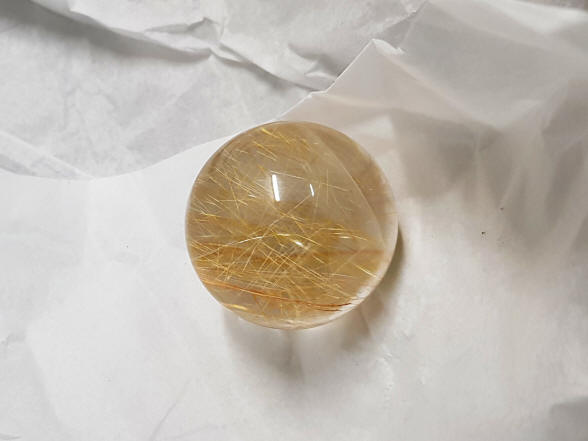
The first lighter smaller Rutile ball came today (first photo). It
is somewhat paler and
the Rutile is finer than the photos. Here are some least complimentary
photos in fluorescent lighting. It is very high quality and perfectly
polished.
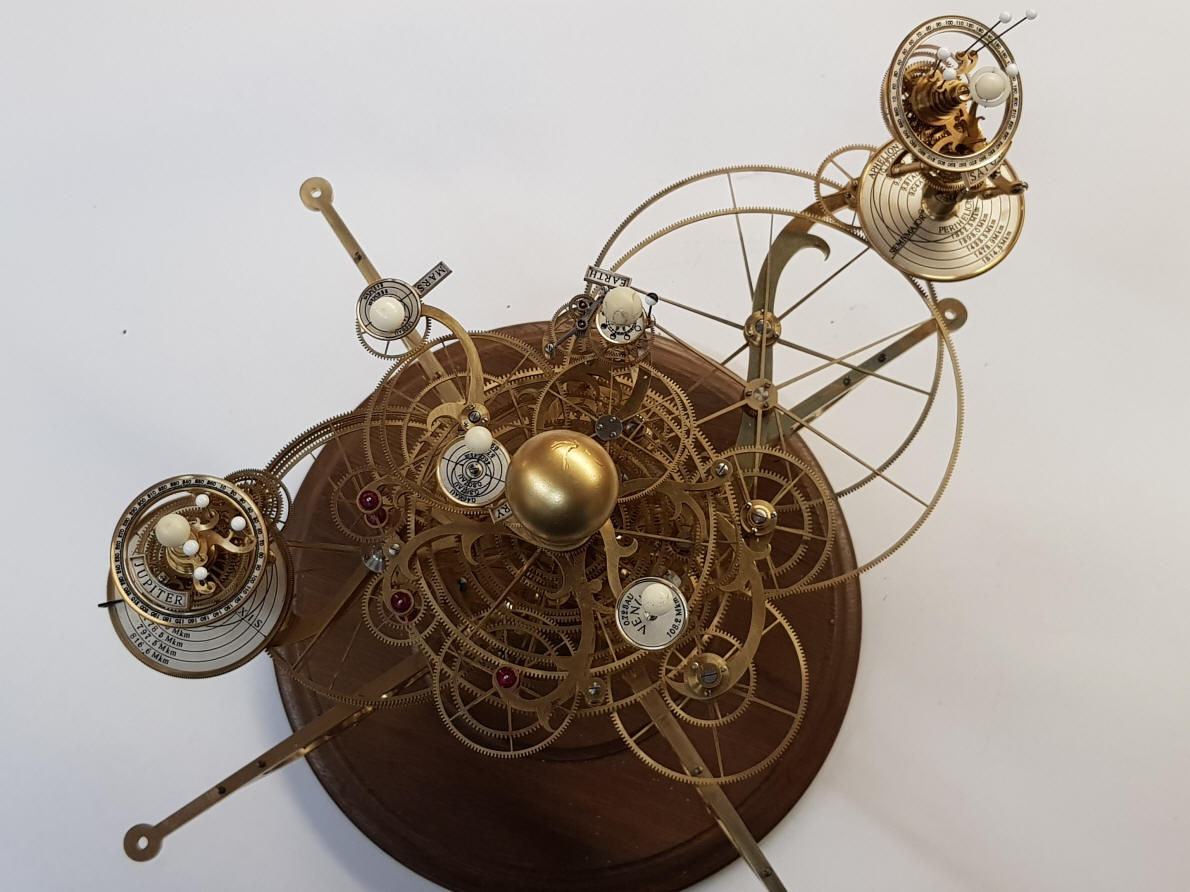
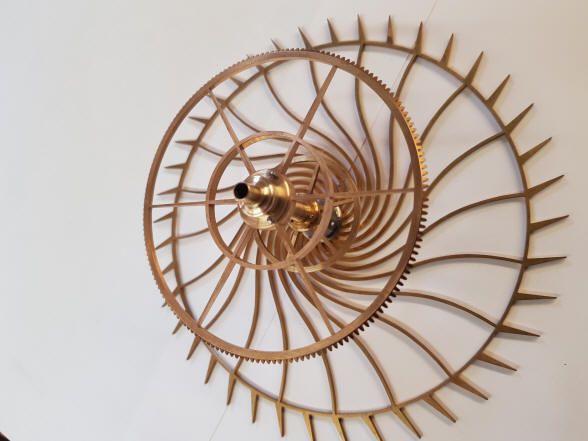
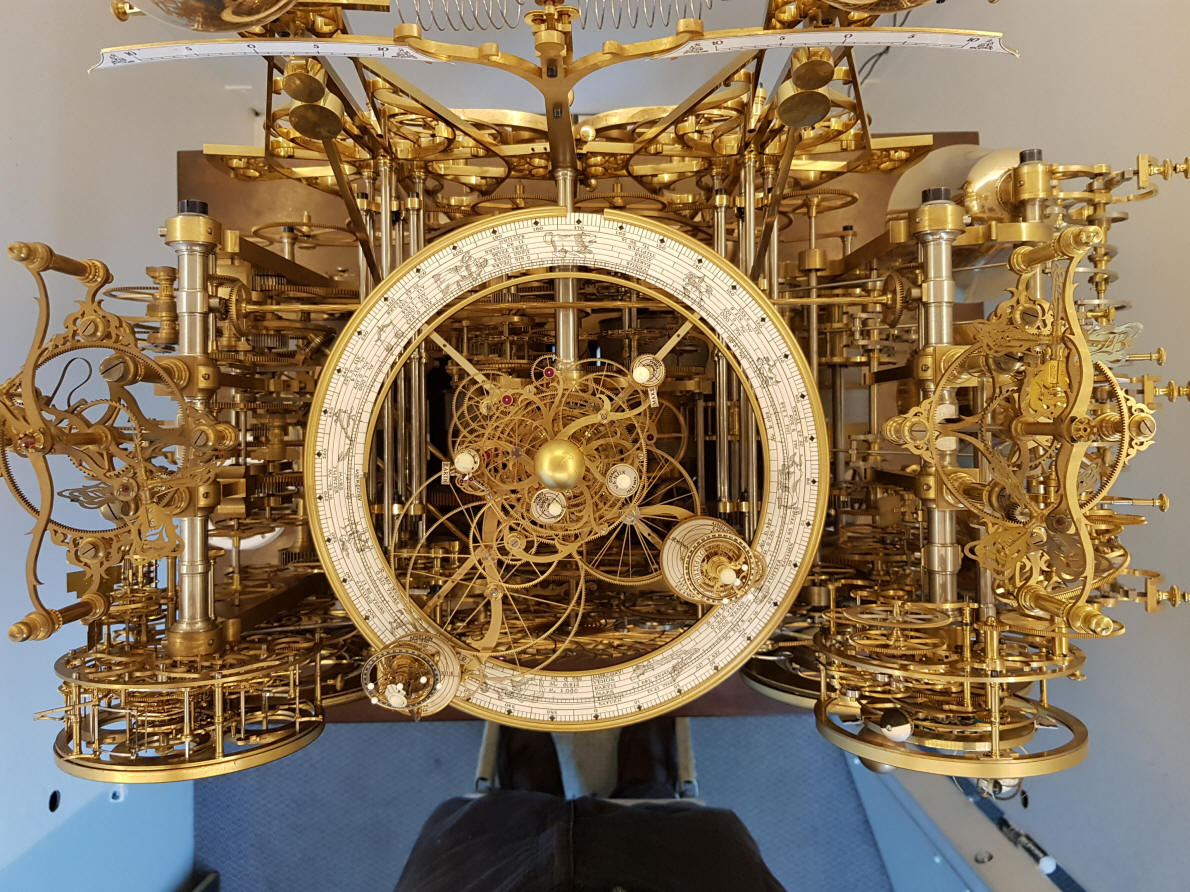
Here is an unusual photo of the clock, one I have not seen before. It is interesting to note that from this angle the machine has the least visual density. I write:
The photo from directly above is quite interesting. I don’t think you have
ever taken a photo from that perspective before. It was a shock to see, as
it was totally new. It’s interesting in that from this perspective, the
clock is the least densely packed. One can see quite a bit of the table
below. At every other angle it is tangle of machinery. I also like the
photo, of all the planets in a row, it really brings into focus the tight
clearances.
The machine is simply looking unbelievably beautiful. Buchanan
replies:
Yes, I have not taken a photo vertically down before. I think I was as
surprised as you were. It is after all a skeleton clock. I am delighted that
you are pleased.
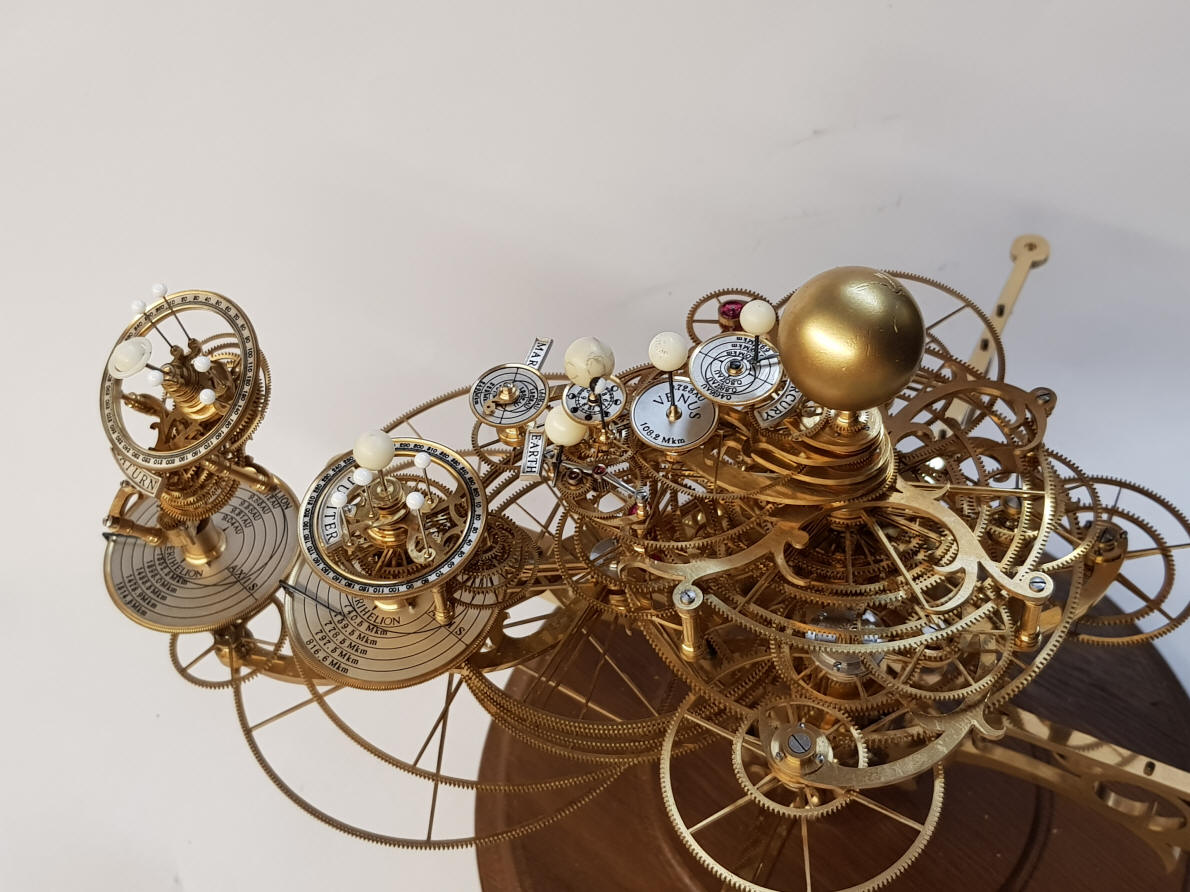
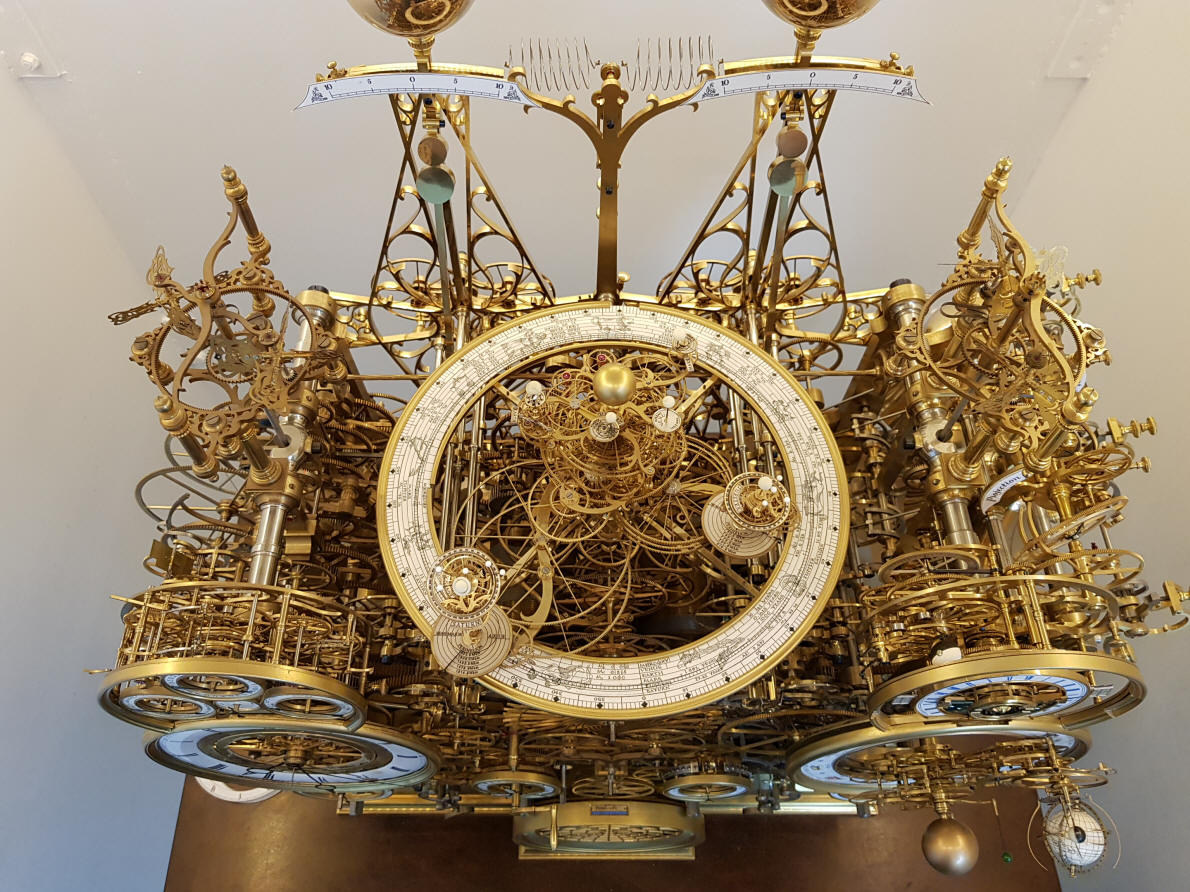
Here the angle is
slightly changed and the density returns.
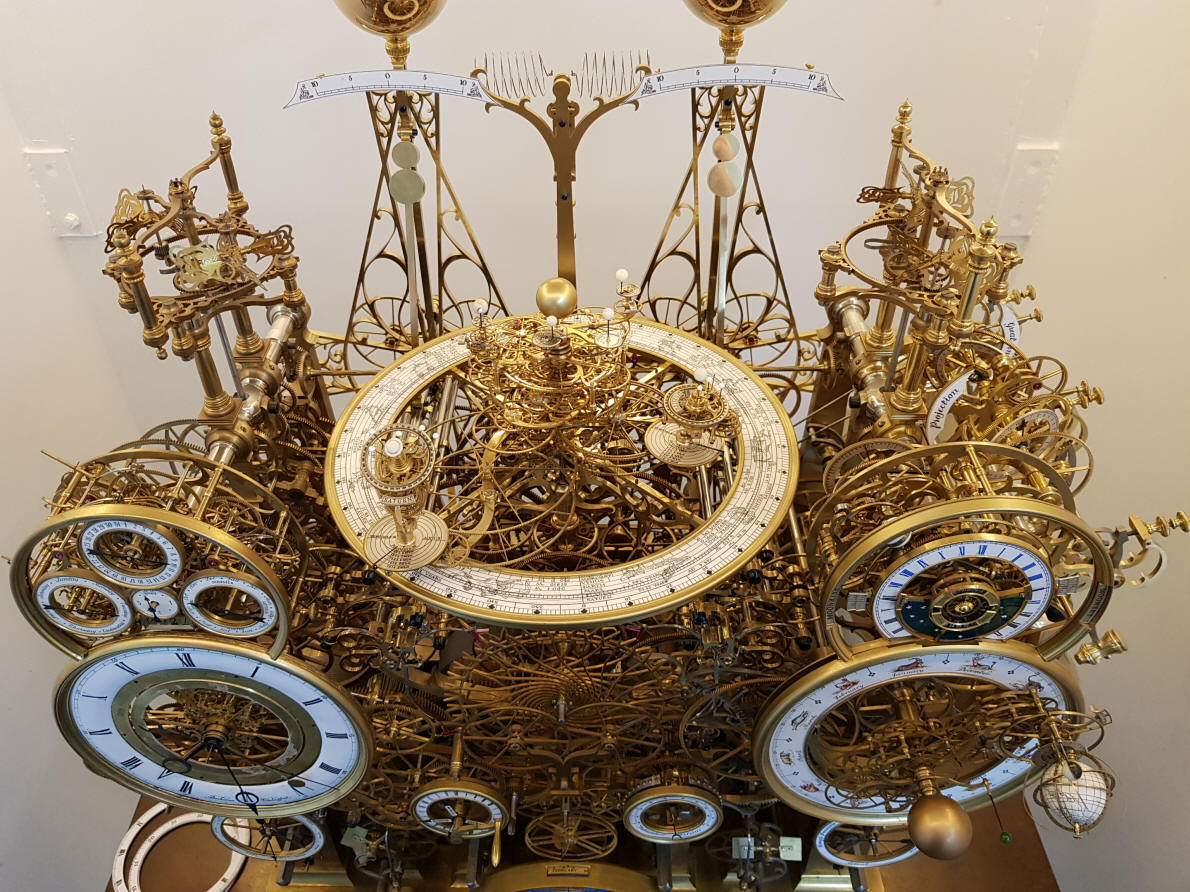
The density continues
to grow as the angle changes.
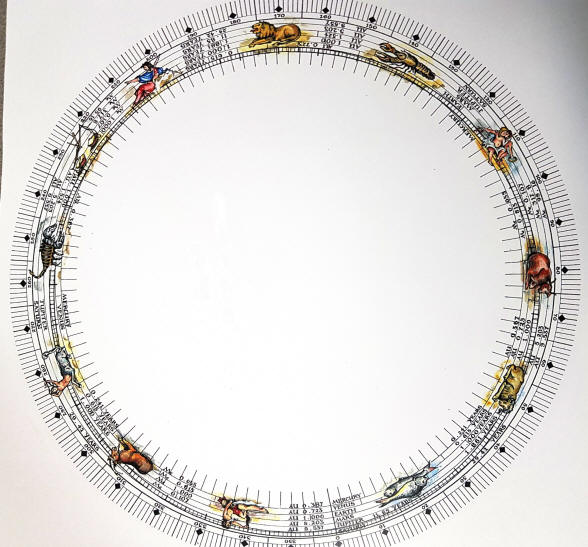
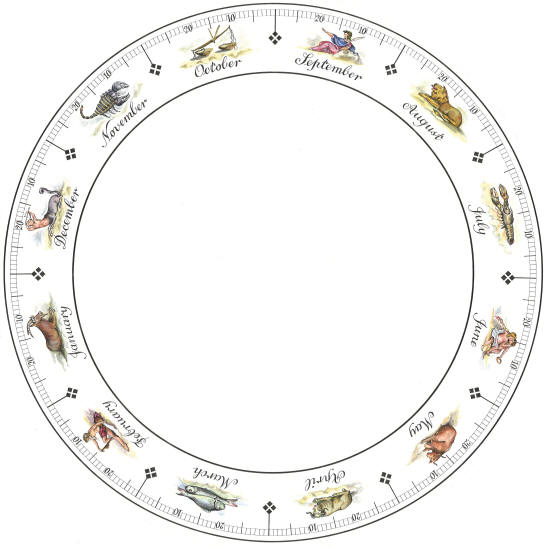
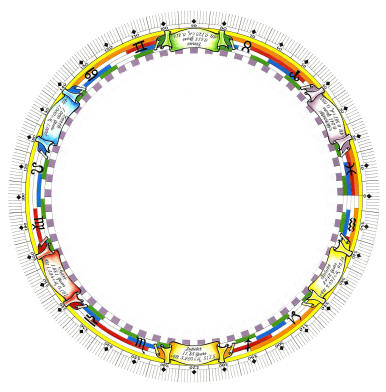
The current black and
white dial replaced an earlier one that was a different design from April
2012, in color, without zodiacal figures; instead having 6 scroll cartouches
one for each planet, and different colored circles meant to represent the
length of the planet orbits. But when completed it was deemed too
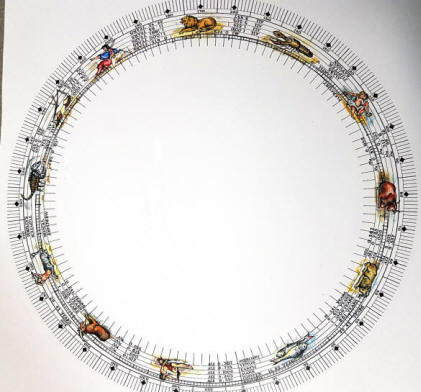
gaudy and was never installed. We then went with the black and white dial
using the same zodiac figures as are found on the planisphere dial which was
the first dial completed in January 2012. In March of 2012 Buchanan began
design work on the tellurian dial. We based our design directly off one of
the dials from Antide Janvier's chef-d'œuvre (masterpiece),
astronomical clock. The zodiac figures were a better design than those on
the planisphere and the coloring was better. To be fair, the zodiac figures
on the planisphere dial were all on a strong blue sky background so giving
them coloring would have been difficult to pull off. Remember that the
Chinese painters are very good at their work, but they are trained to copy
as exactly as possible what is given to them. Getting a better coloring on
the old zodiac figures would not be possible as there was no good original
to color to copy, as a result the old black and white dial retained those
figures. |


![]()
![]()
![]()